
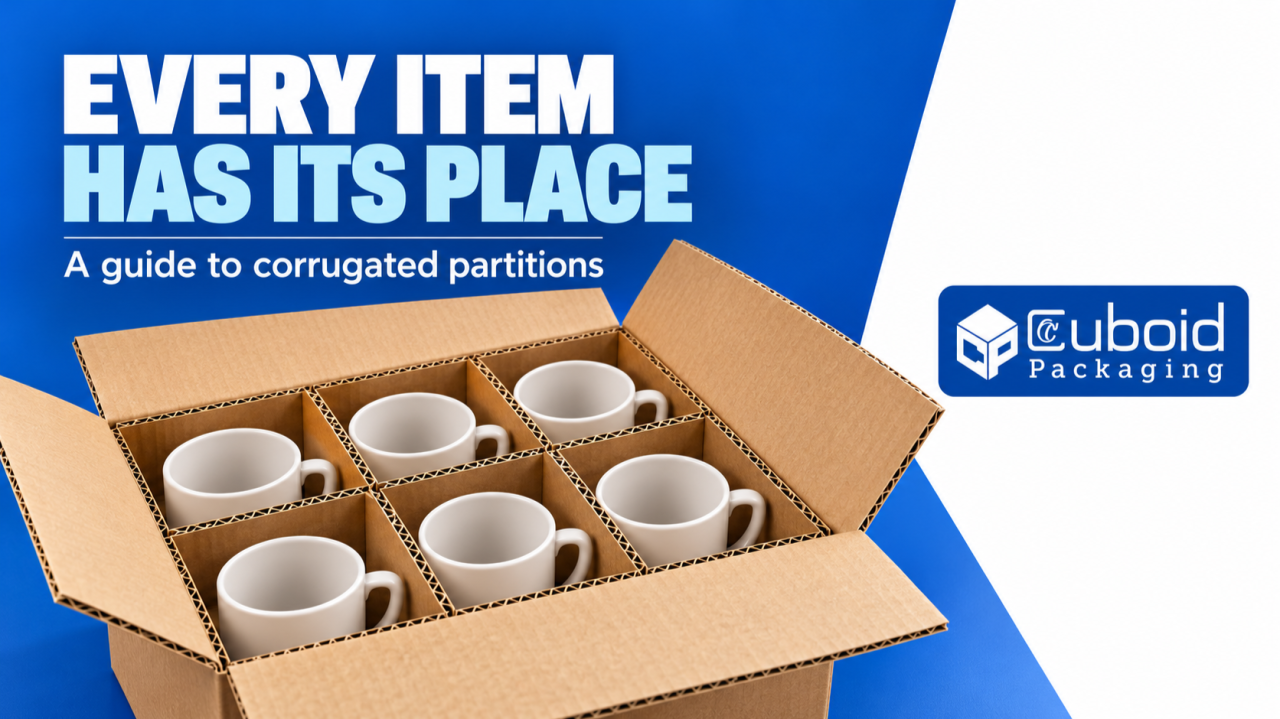
Corrugated partitions divide a shipping box into cells so that individual products have their own space. A useful divider design considers the product’s complete shape, the clearance inside each cell, the height of the partition and the way the whole pack behaves in handling. Choosing a divider by the product’s diameter alone is rarely enough.
Think of a six-piece ceramic mug order. The bodies may fit neatly, but the handles protrude. If the divider ignores those handles, neighbouring products can still meet during movement. The outside box may arrive looking acceptable while the customer discovers a chipped handle inside.
For manufacturers, e-commerce sellers and dispatch teams in Chennai and across Tamil Nadu, this guide explains how to develop a practical corrugated partition brief. It focuses on internal separation and fit, with sample checks before production.
Understand the job of a partition
A partition can help separate products, organise a set and make packing more consistent. It can also support a clear count: a six-cell arrangement makes a missing item easier to notice than a loose assortment.
However, separation is not the same as complete impact protection. A divider may need to work with corrugated pads, additional fitments or other approved protective elements. The outer box, contents and internal components must be assessed together.
The FEFCO code recognises interior fitments such as pads, partitions and dividers as part of corrugated packaging design. A style reference helps communicate structure, but it does not by itself specify the appropriate material, dimensions or performance for your product.
Start by describing the failure you are trying to prevent. Is it product-to-product contact, movement within the box, abrasion, missing accessories or an inconsistent packing method? Different problems can require different solutions.
Measure the product envelope
The product envelope is the space occupied by the complete item in its intended packing orientation. Include handles, caps, spouts, hinges, labels, protective sleeves and any other protruding feature. Use actual samples from normal production where possible.
Measure more than one item. Handmade or formed products may vary. A partition that fits one unusually small sample can create problems when the next batch arrives. Share the expected variation with the packaging supplier instead of treating a single measurement as a universal dimension.
For a mug, record the body width, total width including the handle, height and intended handle direction. For a bottle, consider the widest section, shoulder and closure. For a kit, identify which components can share a cell and which must remain separated.
Photographs help explain shape, but photographs alone do not establish dimensions. Provide a drawing or measurement sheet and label the orientation clearly.
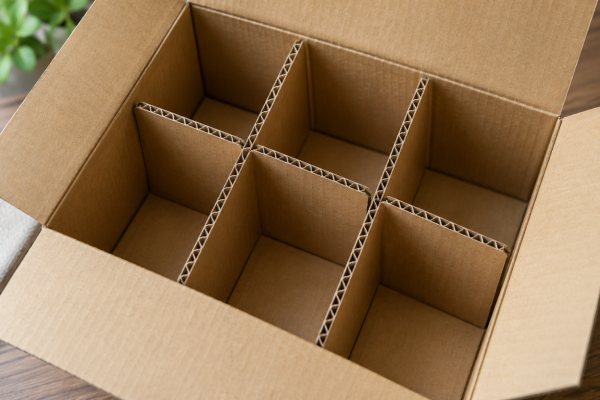
Conceptual corrugated partition illustration. Final dimensions and board specifications require a product-specific sample.
Cell clearance is a design decision
A cell should allow the product to be inserted and removed without forcing it. Too little clearance can slow packing, damage surface finishes or distort the partition. Too much can allow unwanted movement. There is no single clearance that suits every product and shipping route.
Consider whether the item will be wrapped, whether a label adds thickness and whether the packing team wears gloves. Include normal production variation in the discussion. A good sample trial uses the product in its real dispatch condition, not an unwrapped substitute.
Ask the supplier to distinguish the clear internal cell size from the outer dimensions of the assembled partition. Corrugated board has thickness. When several cells sit side by side, the divider walls occupy space that must be included in the outer-box calculation.
Do not simply multiply the product width by the number of items and assume the resulting box dimension is sufficient. Let the structure and material thickness be included in the approved drawing.
Decide how high the divider needs to be
A short divider may separate the lower portions of products while leaving their upper parts able to touch. A taller divider may improve separation, but it can complicate loading, interfere with a lid or require a different packing sequence.
Look at the vulnerable features. A bottle’s shoulder, a mug’s handle or a polished component’s edge may need protection at a particular height. Review whether movement above or below the partition can still create contact.
If a top or bottom pad is part of the design, include it in every trial. Removing it to make the sample close more easily changes the packaging system. Record the complete component list so that production teams do not accidentally simplify away a necessary element.
The closed pack should sit naturally. A bulging lid, forced flap or distorted divider is a reason to revisit the design, not evidence that the fit is “nice and tight”.
Match the board to the task
Corrugated board selection involves more than counting plies. Flute profile, paper combination, board condition, dimensions and construction all affect the behaviour of the finished partition. Ask for the proposed specification and the reason it fits the application.
The direction of the flutes and the location of slots also deserve attention. A well-designed interlocking partition should assemble consistently without tearing or excessive looseness. Changes in board thickness may alter the fit of the slots even if the printed drawing looks unchanged.
Moisture and storage conditions matter to corrugated materials. Keep unused components protected from dampness and crushing, and discuss the expected distribution environment when developing the sample.
Avoid treating a previous successful divider as a universal template. A heavier product, taller stack or different transport route can change the demands on the pack.

Illustrative fit assessment: include protruding handles and normal product variation in the sample review.
Test the packing operation as well as the pack
A partition can look excellent on a design table and become awkward at a busy packing station. Ask the people who will assemble it to try the proposed method. Watch where they hesitate, force a slot or rotate a component to make it fit.
Record the sequence: assemble the divider, place the bottom pad, load products in the specified orientation, add remaining components and close the box. If the sequence differs, show it clearly in a packing instruction.
Count the separate pieces and observe how they are supplied. Loose similar-looking components may be mixed up. A simple identification mark or photograph in the work instruction can help distinguish them without adding unnecessary complexity.
Evaluate several repetitions. The first pack may take longer because the operator is learning; later repetitions reveal whether the process becomes reliable. Do not publish a packing-speed claim from one informal trial.
Hypothetical case study: the handle that changed the brief
This example is fictional and illustrates a design discussion, not a documented Cuboid customer outcome.
A homeware seller requests a six-cell corrugated divider using the diameter of a cup’s body. During sample loading, the team finds that handles extend into neighbouring cells. Turning the cups inconsistently makes the arrangement harder to repeat.
The revised brief records the full product envelope and a single intended orientation. The supplier develops a different cell layout, and the team reviews the outer box with all components included. The sample is then evaluated through an agreed handling and distribution test plan.
The useful lesson is not that one particular divider always works. It is that the initial measurement described only part of the product. Better input data makes the design review more meaningful.
The seller also photographs the approved loading pattern. That helps the dispatch team reproduce the arrangement instead of relying on memory or a verbal explanation from the person who approved the sample.
Agree what a successful trial looks like
Before testing, define the observations that matter. Examples include no unwanted product contact, no unacceptable cosmetic damage, correct product count, reliable closure and acceptable assembly effort. Use criteria suited to the product rather than copying a generic checklist unchanged.
Where formal distribution testing is needed, work with a competent packaging test provider to select the relevant procedure and conditions. An informal shake test cannot demonstrate performance across every courier route or stacking situation.
After a trial, inspect the contents and internal components as well as the outer box. A crushed divider, polished contact mark or displaced pad can reveal a problem even if the product has not visibly broken on that occasion.
Record the sample version, board specification, product batch and test conditions. Without that record, a successful result can be difficult to reproduce.
Approve the complete packed system, including the way it is assembled.
An editorial design principle for the sample-review meeting.
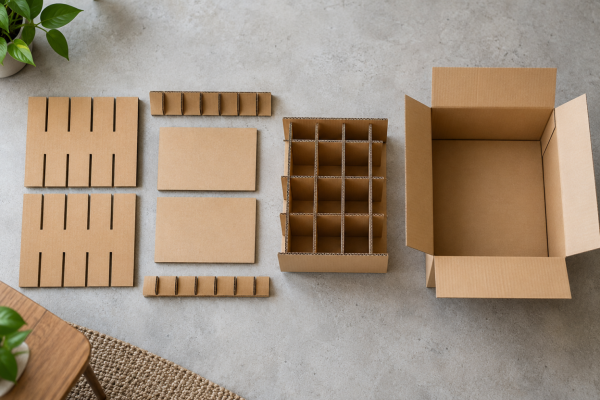
Conceptual component layout. It illustrates the idea of a packing system and is not a manufacturing drawing.
Keep the approved design under control
Once the sample is accepted, retain a reference pack and the approved specification. Identify the outer carton, divider pieces and pads together. Record any assembly instructions that affect product orientation or placement.
A later product change should trigger a packaging review. A new handle, cap, label or protective wrap can alter the fit. Similarly, changing the divider material without reviewing slot fit and performance can undermine the original approval.
Make incoming inspection practical. The team should know which dimensions or features to check and what to do with a questionable batch. “Looks similar” is not a reliable approval standard.
Frequently asked questions
Can corrugated partitions protect glass or ceramic products?
They can be part of a protective packaging system, but suitability must be established for the specific product, pack design and distribution conditions. Separation alone does not guarantee protection against every impact.
Should the cells be as tight as possible?
No universal rule applies. Allow for product variation, surface protection and packing access while controlling movement. Confirm the balance through physical samples.
Can one divider fit several products?
Sometimes, but each product configuration needs review. A common cell size may simplify stock while creating excessive movement for the smallest item. Test all intended combinations.
What should I send with a request for quotation?
Send product dimensions including protrusions, weights, quantity per box, packing orientation, photographs, actual samples where possible, shipping conditions and the expected order pattern. Mention any surface-damage concerns.
Give every item a considered place
An effective corrugated partition begins with understanding the contents. Clear measurements, practical assembly trials and recorded approval criteria make the conversation with the box maker more productive.
For your next corrugated packaging discussion with Cuboid Packaging, bring the product and describe its journey. The most useful question is not simply “Can we add dividers?” It is “What must each cell prevent, and how will we verify that it does?”
Reference
The FEFCO code provides an internationally used language for corrugated packaging styles, including interior fitments. The sample-review steps above are practical planning guidance, not a certification or a substitute for product-specific testing.